If you don't want to get fed up by too much things that you need to know just to see how to do Create, Read, Update and Delete database stuffs in Laravel, then this tutorial is for you. Admit it, Laravel is a complex beast, this approach might not be the best way to introduce Laravel, but if you are like me who believes in KISS principle, you can tame this beast once you get the basics.
Disclaimer: Though this will get you straight to the point, I still recommend reading stuffs on the official Laravel documentation to better understand how things works. This tutorial is only for the sake of providing a less complex approach on learning Laravel
At the end of this tutorial, you should be able to create a basic application wherein you can add, edit, delete and list Tweets. The tweet is just as simple as a table with 2 fields : author and body. Here are the screencaps of what we are going to make
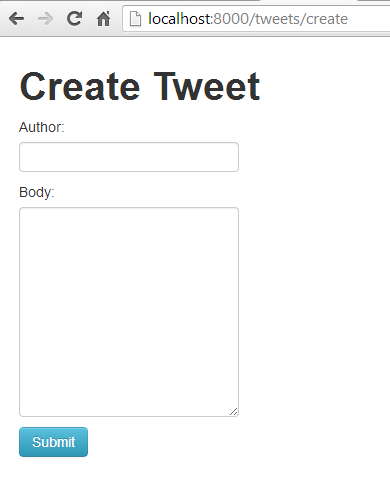
Create
This is a form wherein you can enter the new Tweets. Its just a dead simple form with two fields. Author - is the owner of the tweet, Body is the contents of the tweet.
Read
This is just a basic form wherein you can see all the Tweets. There are edit and delete buttons and a link to create new tweet.
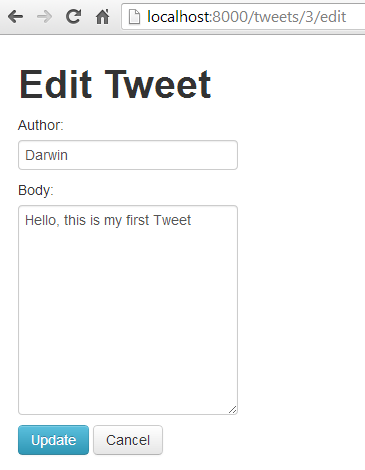
Update
This is the page where the app goes when you hit the Edit button on the Tweet listing.
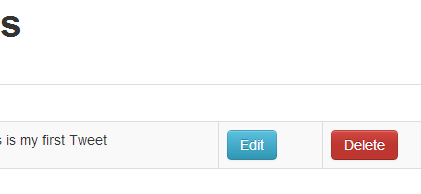
Delete
This is the delete button, when you click that, that tweet will be deleted and the page will reload.
Simple huh?, now are you aready?
Ok, before we start, let me ask you first if you have already know how to install/download Laravel, since installing Laravel is another topic, you can go in this page first then go back here and we will kick some ass.
... a few moments later
Ok, here, so you are back and you think you have Laravel in your end waiting to be developed.
In the root folder of you project, you will see a composer.json file
"require": {
		"laravel/framework": "4.0.*",
		"way/generators": "dev-master"
	}
add the "way/generators": "dev-master" in the require element and save the file as indicated above.
Then on the root folder of your project, run this command in the console:
composer update
What we just did is, in our Laravel project, we had added a new package hosted in packagist.org name "generators". This is a package created by "way" (his full name is Jeffrey Way). We are adding this package because we want to use it to generate the parts of our application so that we don't have to manually create those one by one. You don't have to know what package is in order to follow this tutorial, what is important for now is you understand that we had added the generators page, because it will help us generate "things" for us.
After the generators package is downloaded, you have to enable it in your config file. To do this, go to app/config/app.php and open it up.

install it by adding (see screenshot above)
'Way\Generators\GeneratorsServiceProvider'Now that you have the library installed, the next step is for you to make sure you have your database configured. You have to edit this in app\config\database.php file. You can use any database you like and make sure the account you are using has CREATE, UPDATE, EDIT, DELETE permission.
Now in the fun part, go back to the command line and execute this command in the root of your project:
php artisan generate:scaffold tweet --fields="author:string,body:text"
If things went well you will see stuffs like:

What the hell is going on? why artisan generate:scaffold command writes many files?
Well, it creates many stuffs so that you don't have to create those yourself. Basically it creates the Model, Views and Controllers for your application, it also create a migration script that will create the necessary table to store the data, it registers the routes and setup validation etc., simply put, it simply creates a whole bunch of stuff for you.
now, execute this command in your console:
php artisan serve
It will output something like
Laravel development server started on http://localhost:8000
now open your browser and go to that url indicated and add "tweets" on it: http://localhost:8000/tweets
(note: the port number could vary)
Surprise! your CRUD application is already done!
You should be able to see the screenshots I posted earlier. You can add/edit/delete tweets w/o even writing a single line of PHP, HTML and CSS code. You did not even create any database table, yet you have a fully functional application!
That looks very simple huh, now that you know the "shortcut" of creating a Laravel application. I suggest you read the Laravel documentation and do further reading while looking at the files of this application, that way, you can understand how things works.
Did you find this useful?
I'm always happy to help! You can show your support and appreciation by Buying me a coffee (I love coffee!).


