So you want to deploy your Laravel app ( Laravel 5.8 at the time of writing) in cPanel?
You might have your own reasons, but Laravel is best hosted in a VPS or cheap virtual machine like Digital Ocean which offers as low as $5/month.
But since you are here, lets do it and deploy Laravel in cPanel - the right way!
What do you mean by the right way?
There is a lot of tutorials out there that use deployment strategies that will bite you in the long run, for example:
- Some articles out there tells you to generate the vendor folder in your local machine then upload everything via ftp (ugh, what if your local machine PHP version, extensions and etc is different than in the server?)
- How do you deploy additional changes in codes? you'll re-upload everything again?
- How do you make additional changes in MySQL tables? you'll dabble in PHPMyAdmin again?
- What if some developers had directly edited the files in the server?
- Some tutorials tells you to move files around and place them to public_html and dabble with paths of the framework - now you need to also make the same tweak in your local? plus what if you need to upgrade the Laravel version?
as you can see, things can get too messy when more incremental changes is done in the code and more developers is touching the project...
Step 1 - login to your cpanel and check/install requirements
- Navigate to https://cpanel.yourdomain.com/ or http://yourdomain.com:2083
- Login with your cPanel credentials
- Go into Advance section and click the terminal icon as shown below
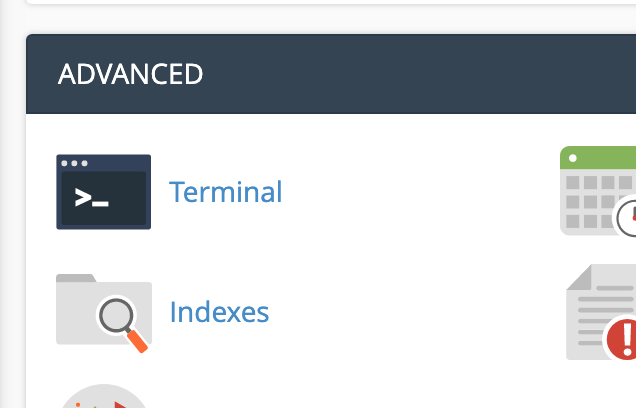
If you dont see the Terminal Icon, that means your shared account doesn't have "Shell Access" turned on. You might need to ask your Hosting Provider turn it on for you. You'll need to execute migrations and fetch Composer dependencies.
It will launch the terminal. This is where you will spend most of your work, so you better get familiar with it.

You can also SSH to your shared account by using your local SSH client. If that is the case, consult your hosting provider (SSH port is not usually open for public, so you might need to get whitelisted first).
Check PHP Version
check the php version by executing the following command:
php -v
PHP 7.2.19 (cli) (built: Jul  1 2019 21:49:20) ( NTS )
Copyright (c) 1997-2018 The PHP Group
Zend Engine v3.2.0, Copyright (c) 1998-2018 Zend Technologies
Check PHP Extensions
check the php extensions installed:
$ php -m
[PHP Modules]
bcmath
iconv
imap
intl
json
...

[Zend Modules]
- bcmath
- ctype
- json
- mbstring
- openssl
- PDO
- pdo_mysql
- tokenizer
- xml
Install Composer
configure your shell environment to use composer
echo 'alias composer="php -d allow_url_fopen=On /home/username/composer.phar"' >> ~/.bashrc
source ~/.bashrc
replace username with your own username
download composer installer
cd ~
curl -k -O https://getcomposer.org/installer
install it
php -d allow_url_fopen=On installerverify you have it
composer -V
Composer version 1.7.2 2018-08-16 16:57:12
Configure Git
Most cPanel installations comes with Git pre-installed, if it is not, you might need to ask your hosting provider to have it installed.
if you dont have an SSH key yet configured for this account, you need to generate one. Please check first by executing the following command
cat ~/.ssh/id_rsa.pubif it says cat: /home/user/.ssh/id_rsa.pub: No such file or directory, that means you dont have an ssh key yet. You can generate one by doing the following:
ssh-keygen -t rsa -b 4096 -C "cpanel username"once done, execute this again
cat ~/.ssh/id_rsa.puband copy the outputted text to your clipboard, youll gonna need to paste it in your Git repo.
I assume your app is hosted in github, for example https://github.com/username/repo-name/
Go into Settings Tab -> Deploy Keys in the side bar https://github.com/username/repo-name/settings/keys
You’ll see something like this
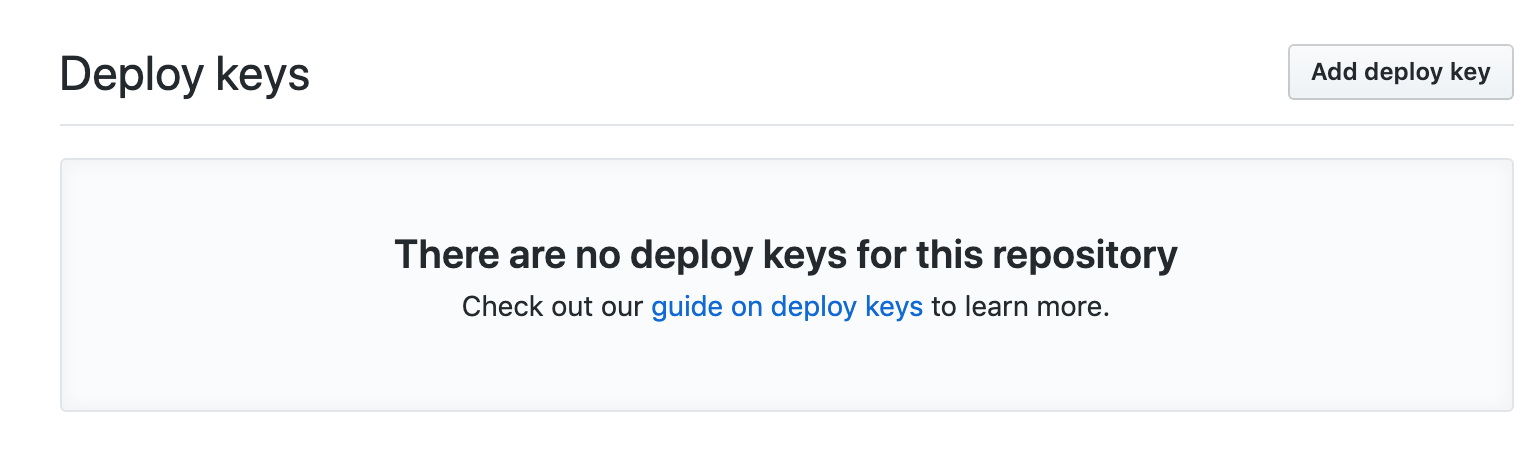
Click the “Add deploy key” button and paste the output of the command earlier in the Key field(your ssh public key). Leave the “Allow write access” unchecked.
Setup the app
Now, clone the repo to a folder named “app”, it should be in /home/username/app
git clone [email protected]:username/repo.git appgo to the app folder and install the dependencies
composer installwhile that is installing, create a new MySQL database in cPanel in DATABASES -> MySQL Databases section. take note of the database name, username and password.
copy the .env.example file to .env
cp .env.example .envedit the .env file and configure it with your setting
nano .envfew key settings that is important are
DB_HOST=localhost
DB_CONNECTION=mysql
DB_PORT=3306
DB_DATABASE=yourdbname
DB_USERNAME=youruser
DB_PASSWORD=yourpass
APP_ENV=production
APP_DEBUG=false
generate the application key
php artisan key:generaterun the migrations
php artisan migrateIf you received an error of "Specified key was too long; maxkey length is 1000 bytes", you need to check this article for the fix. Apply the fix in the repo, then issue "git pull origin master" so that this copy will receive the fix . Then go to PhpMyAdmin, drop all the tables there and try running the migrate command again.
set the permission of the storage folder so that the web server can write to it
chmod -R 775 storagefinally, optimize things up!
php composer dumpautoload -o
php artisan config:cache
php artisan route:cache
Make the app accessible to public
right now, the app is not accessible outside because we placed it under /home/user/app directory. The only folder that is accessible to public is /home/user/public_html but we dont want to place all of our framework files into public_html folder. So what we gonna do is simply make a Symbolic link to our /home/user/app/public folder.
to do this, backup first a copy of the public_html folder
mv public_html public_html_oldcreate the symlink
ln -s /home/user/app/public /home/user/public_htmlyour folder structure should be similar to this
public_html -> /home/user/app/public
public_html_old
www -> public_html
now go ahead and visit your site, it should be working now!
Configure Cron Job
We are not finished yet! if you are app needs to run some background processes, you might need to configure the cron job, to do this go to Advanced -> Cron Job menu in cPanel admin.
and add the following
cd /home/user/app/ && php artisan schedule:run >> /dev/null 2>&1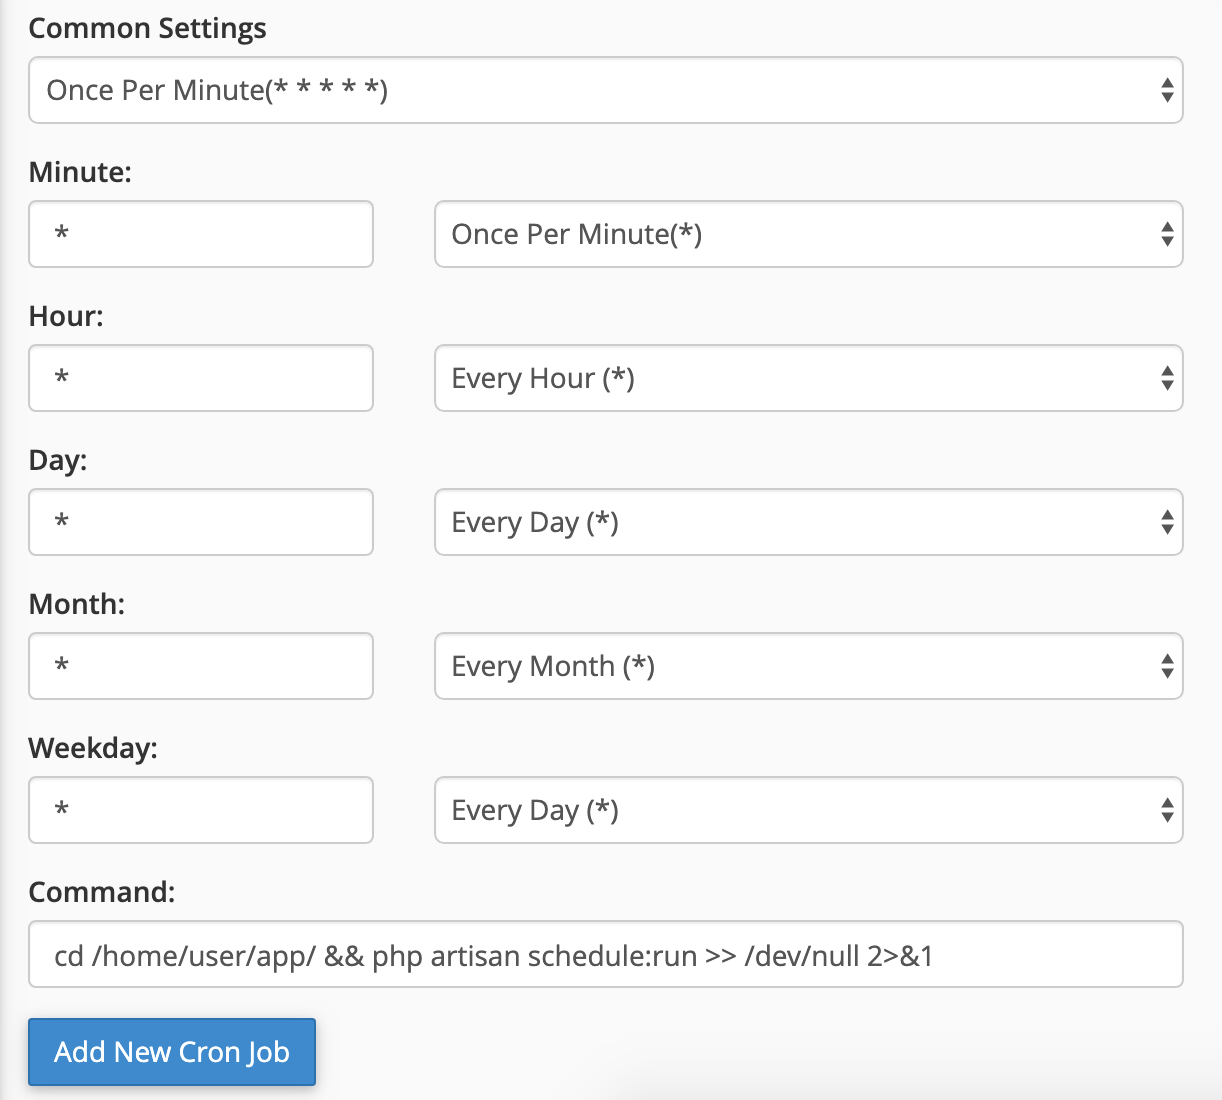
You are done!
Workflow
Now that you have your app setup, how do you push new changes to it? Simple:
- make changes in your local environment
- push to remote repo
- git pull in the cPanel
Or you can setup some tool, to automatically issue git pull for you by setting up a webhook in your Github repo. This is so that everytime someone pushes in your master branch, it will automaticaly deploy in your cPanel without you even logging in to terminal!
This is what actually Laravel Envoyer is doing, among other things such as managing releases and supporting hooks for each stage.
Did you find this useful?
I'm always happy to help! You can show your support and appreciation by Buying me a coffee (I love coffee!).